

Turning your wood ash into lye for soap making
/By: Gabe Garms
On our campus, we constantly have our wood burning stoves going throughout the winter months and we generate quite a lot of ash. This is great because this wood ash can be turned into lye, which is one of the primary ingredients in soap. Lye is also commercially used to clean drains and ovens and is quite valuable to have around the house. In this post, I'm going to show you how to make your own with minimal materials.
While this may be a relatively easy process, it's also a process which should be approached with care. You see, lye (sodium hydroxide) is formed when wood ash (which is mostly potassium carbonate) is mixed with water. The mixed solution is extremely alkaline and if it comes in contact with your skin, it begins to absorb the oils and turns your skin into soap. It's pretty painful so before I ever begin, I make sure that I have vinegar nearby to neutralize the burn if the solution does happen to come in contact with my skin. I also wear rubber gloves and goggles in case there is any splash back during the mixing process.
The materials that you'll need are a bucket (DON'T use aluminum), a mixing spoon or stick, wood ash, flour sifter, water, an old t-shirt, a pot and a pan. And don't forget the gloves, goggles and vinegar!
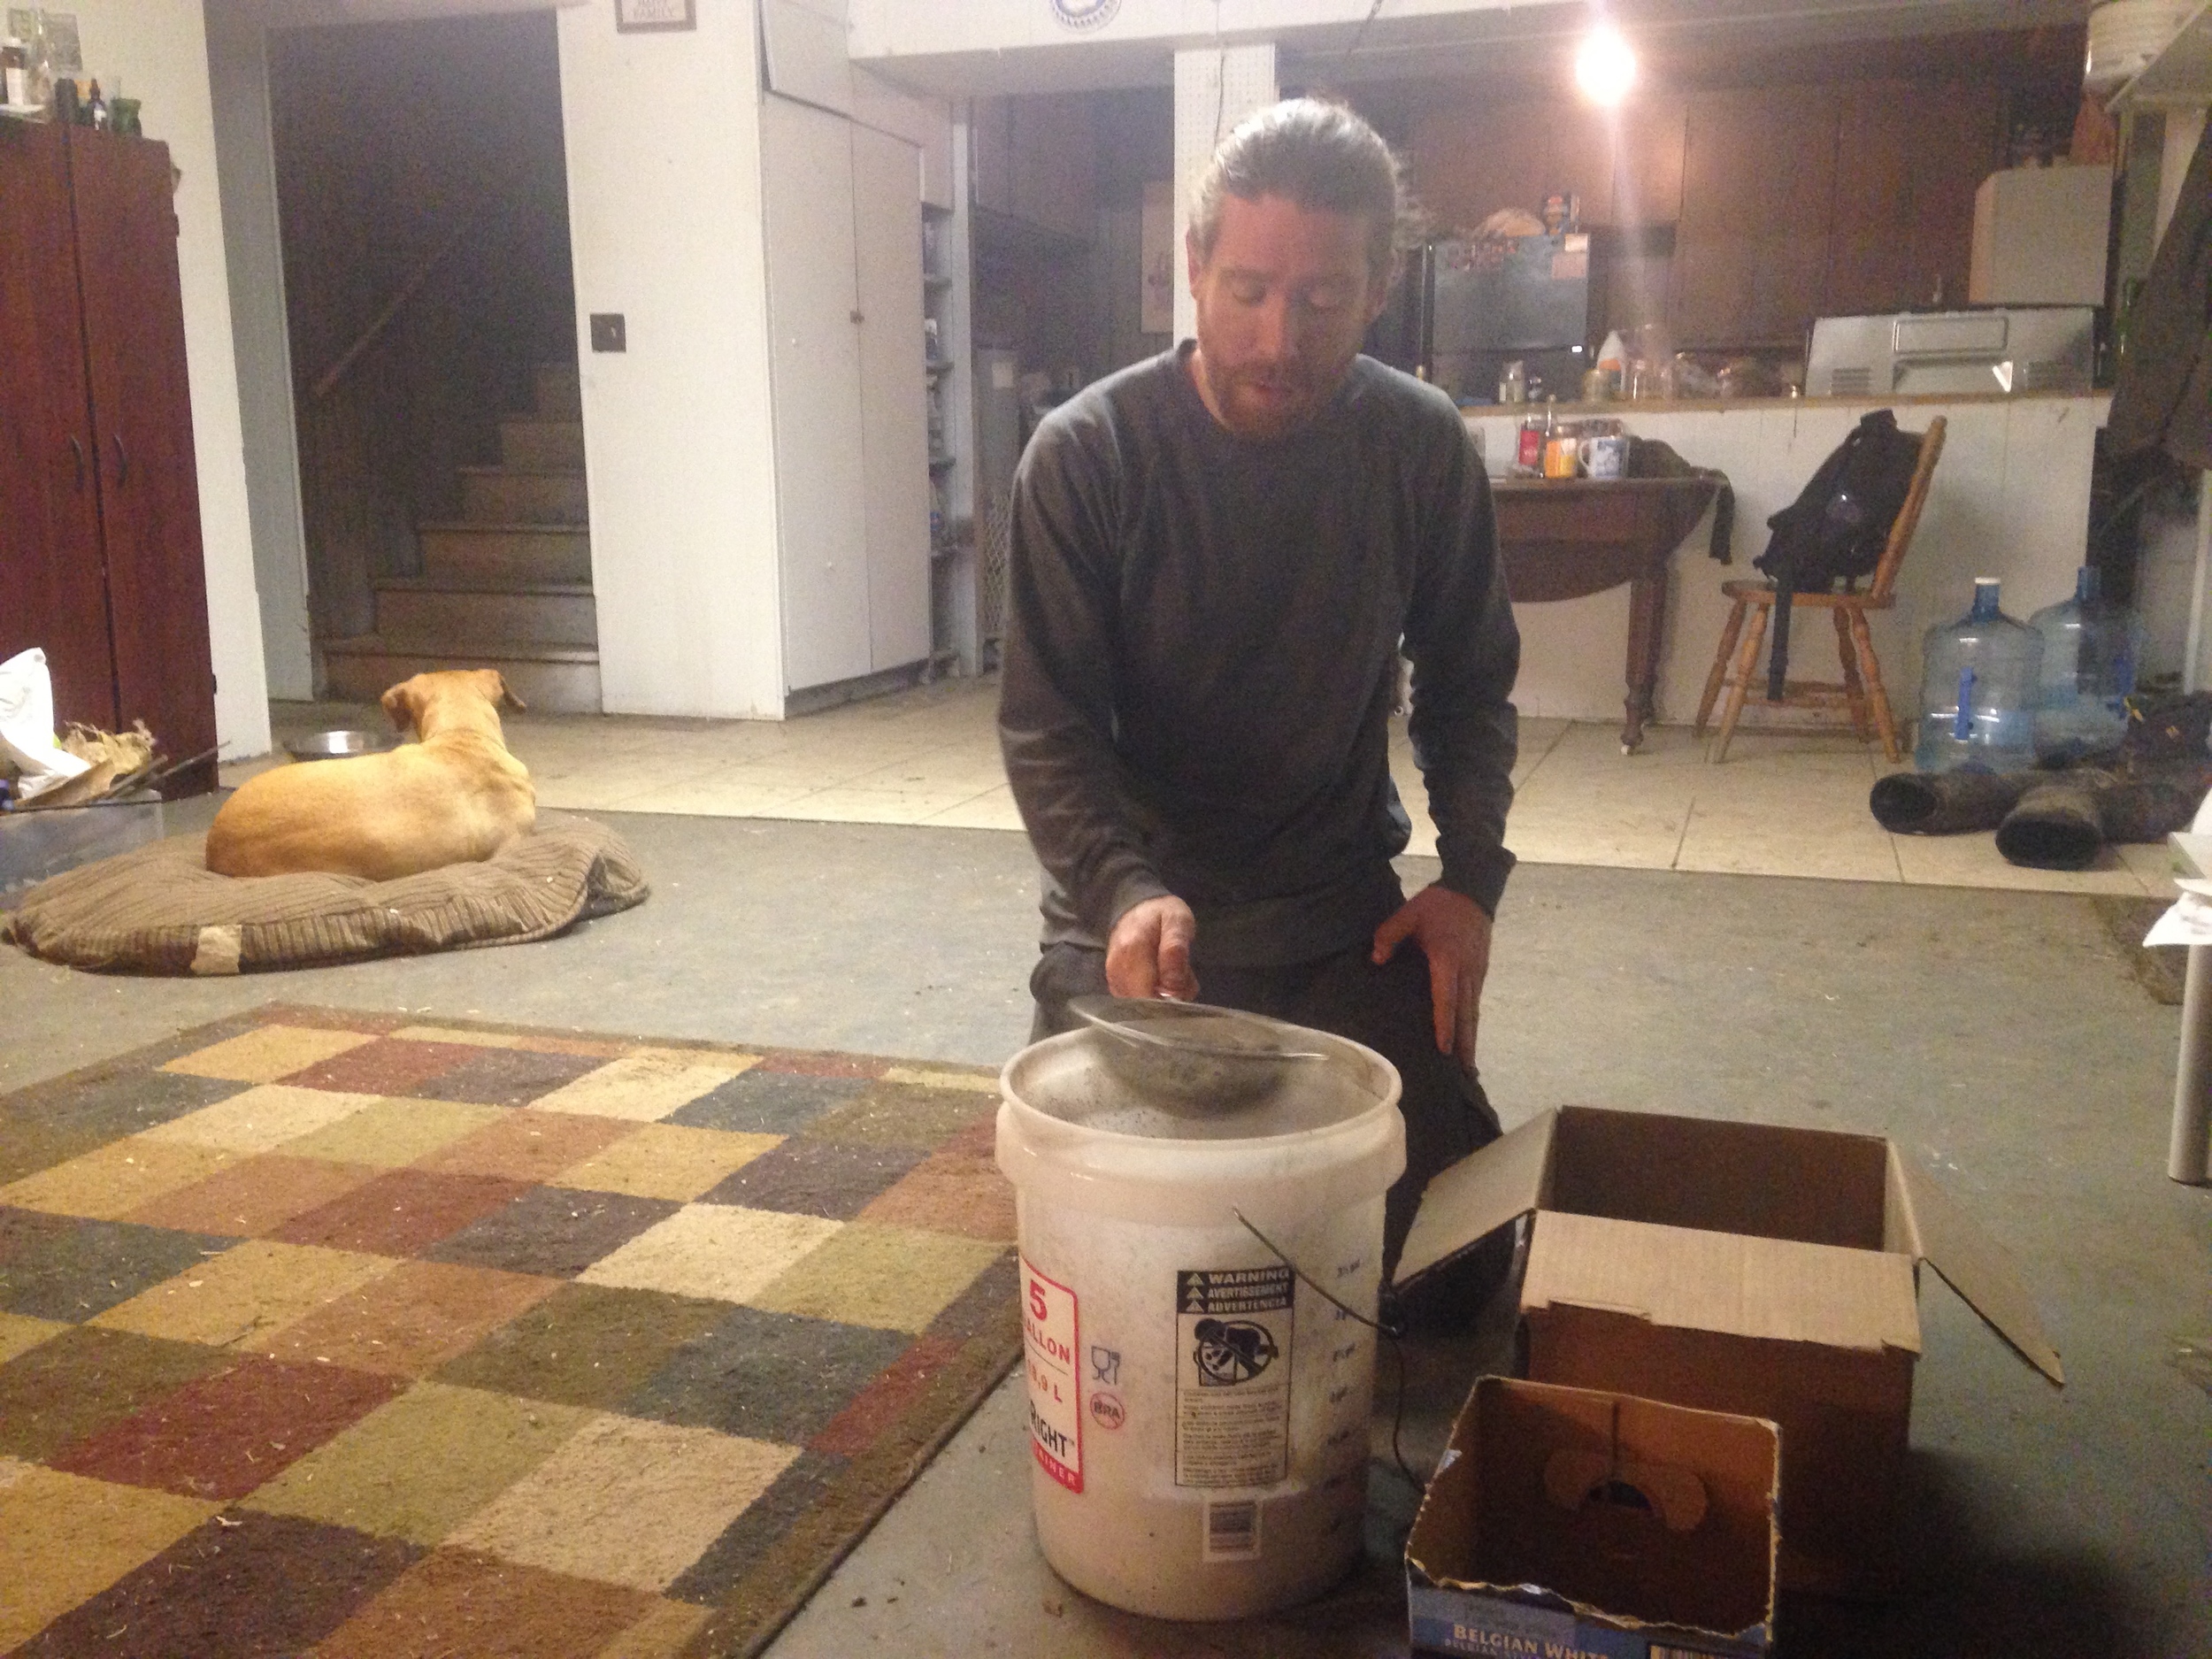
1. The first step is to separate the white ash from the large unburnt chunks of wood that are black and still contain carbon. You can make the lye with the chunks but I've found that if you remove as many of them as you can, the clarification process of the liquid that we're going to produce won't take anywhere near as long. I simply put all of the ash into the box directly next to me in the picture below and sifted the white ash from the chunks into a five gallon bucket. I used the box closer to the camera to store all of the chunks. The picture to the right below is what the sifted ash looks like in the bucket.

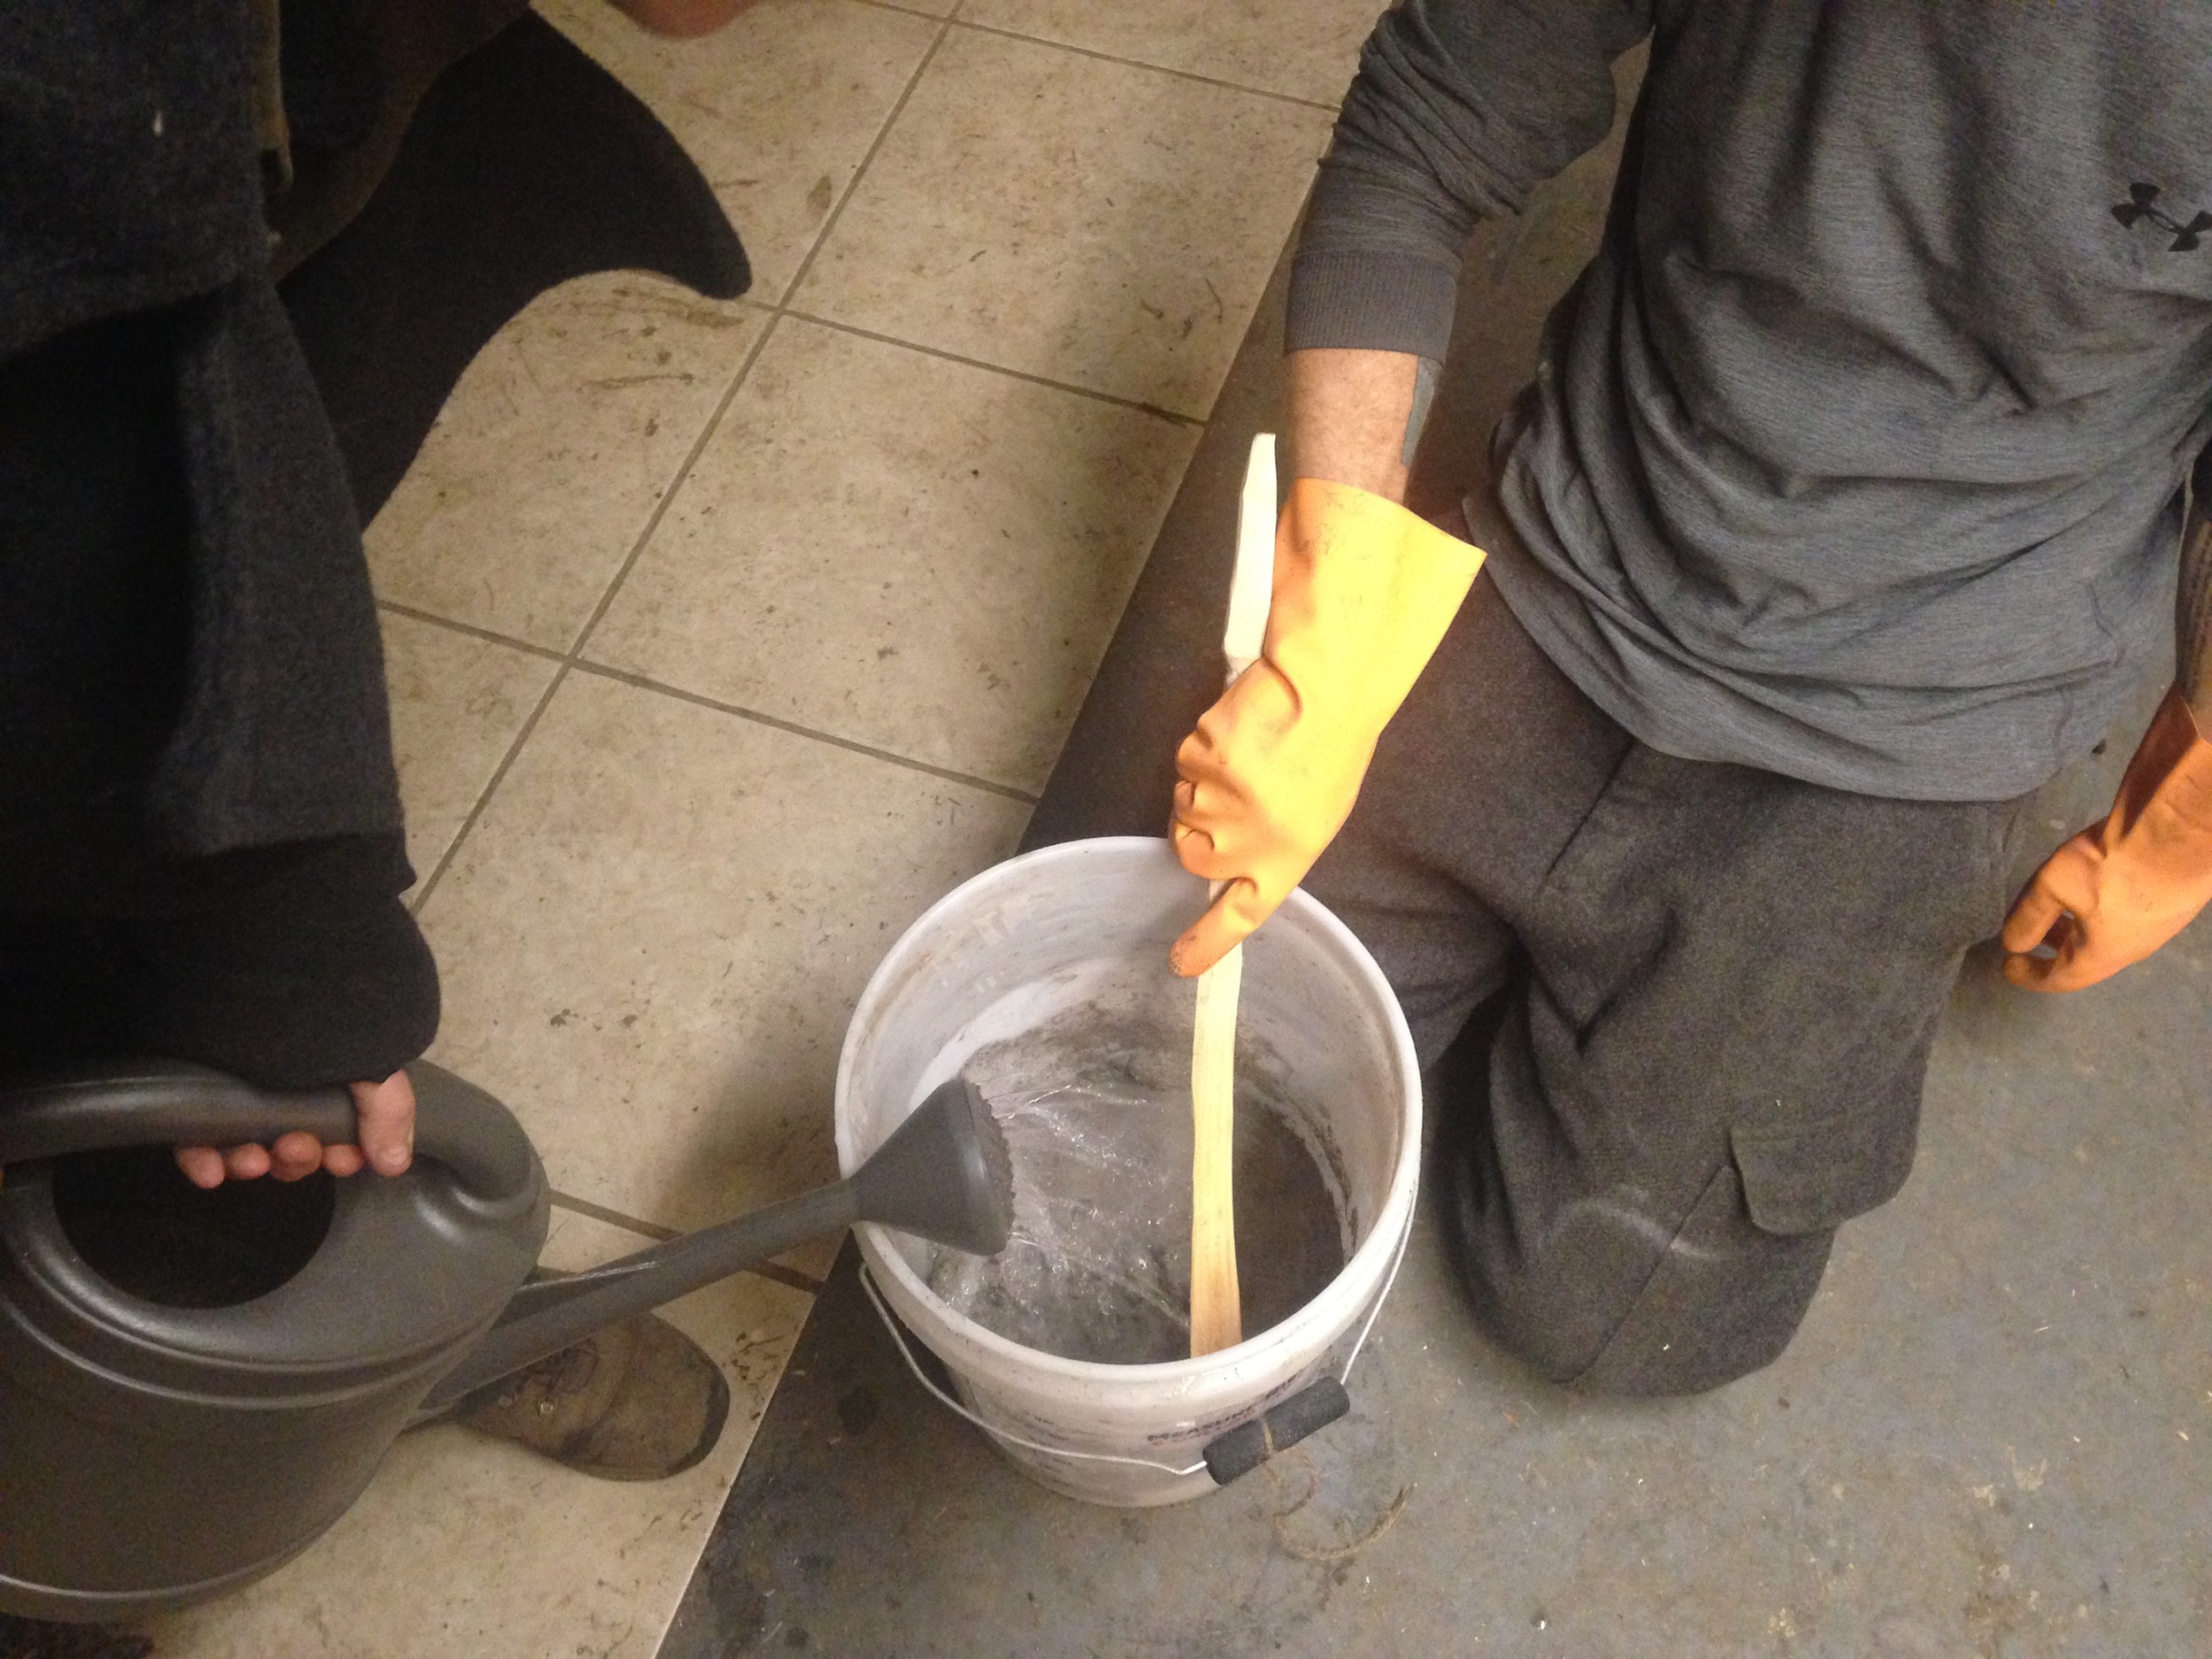
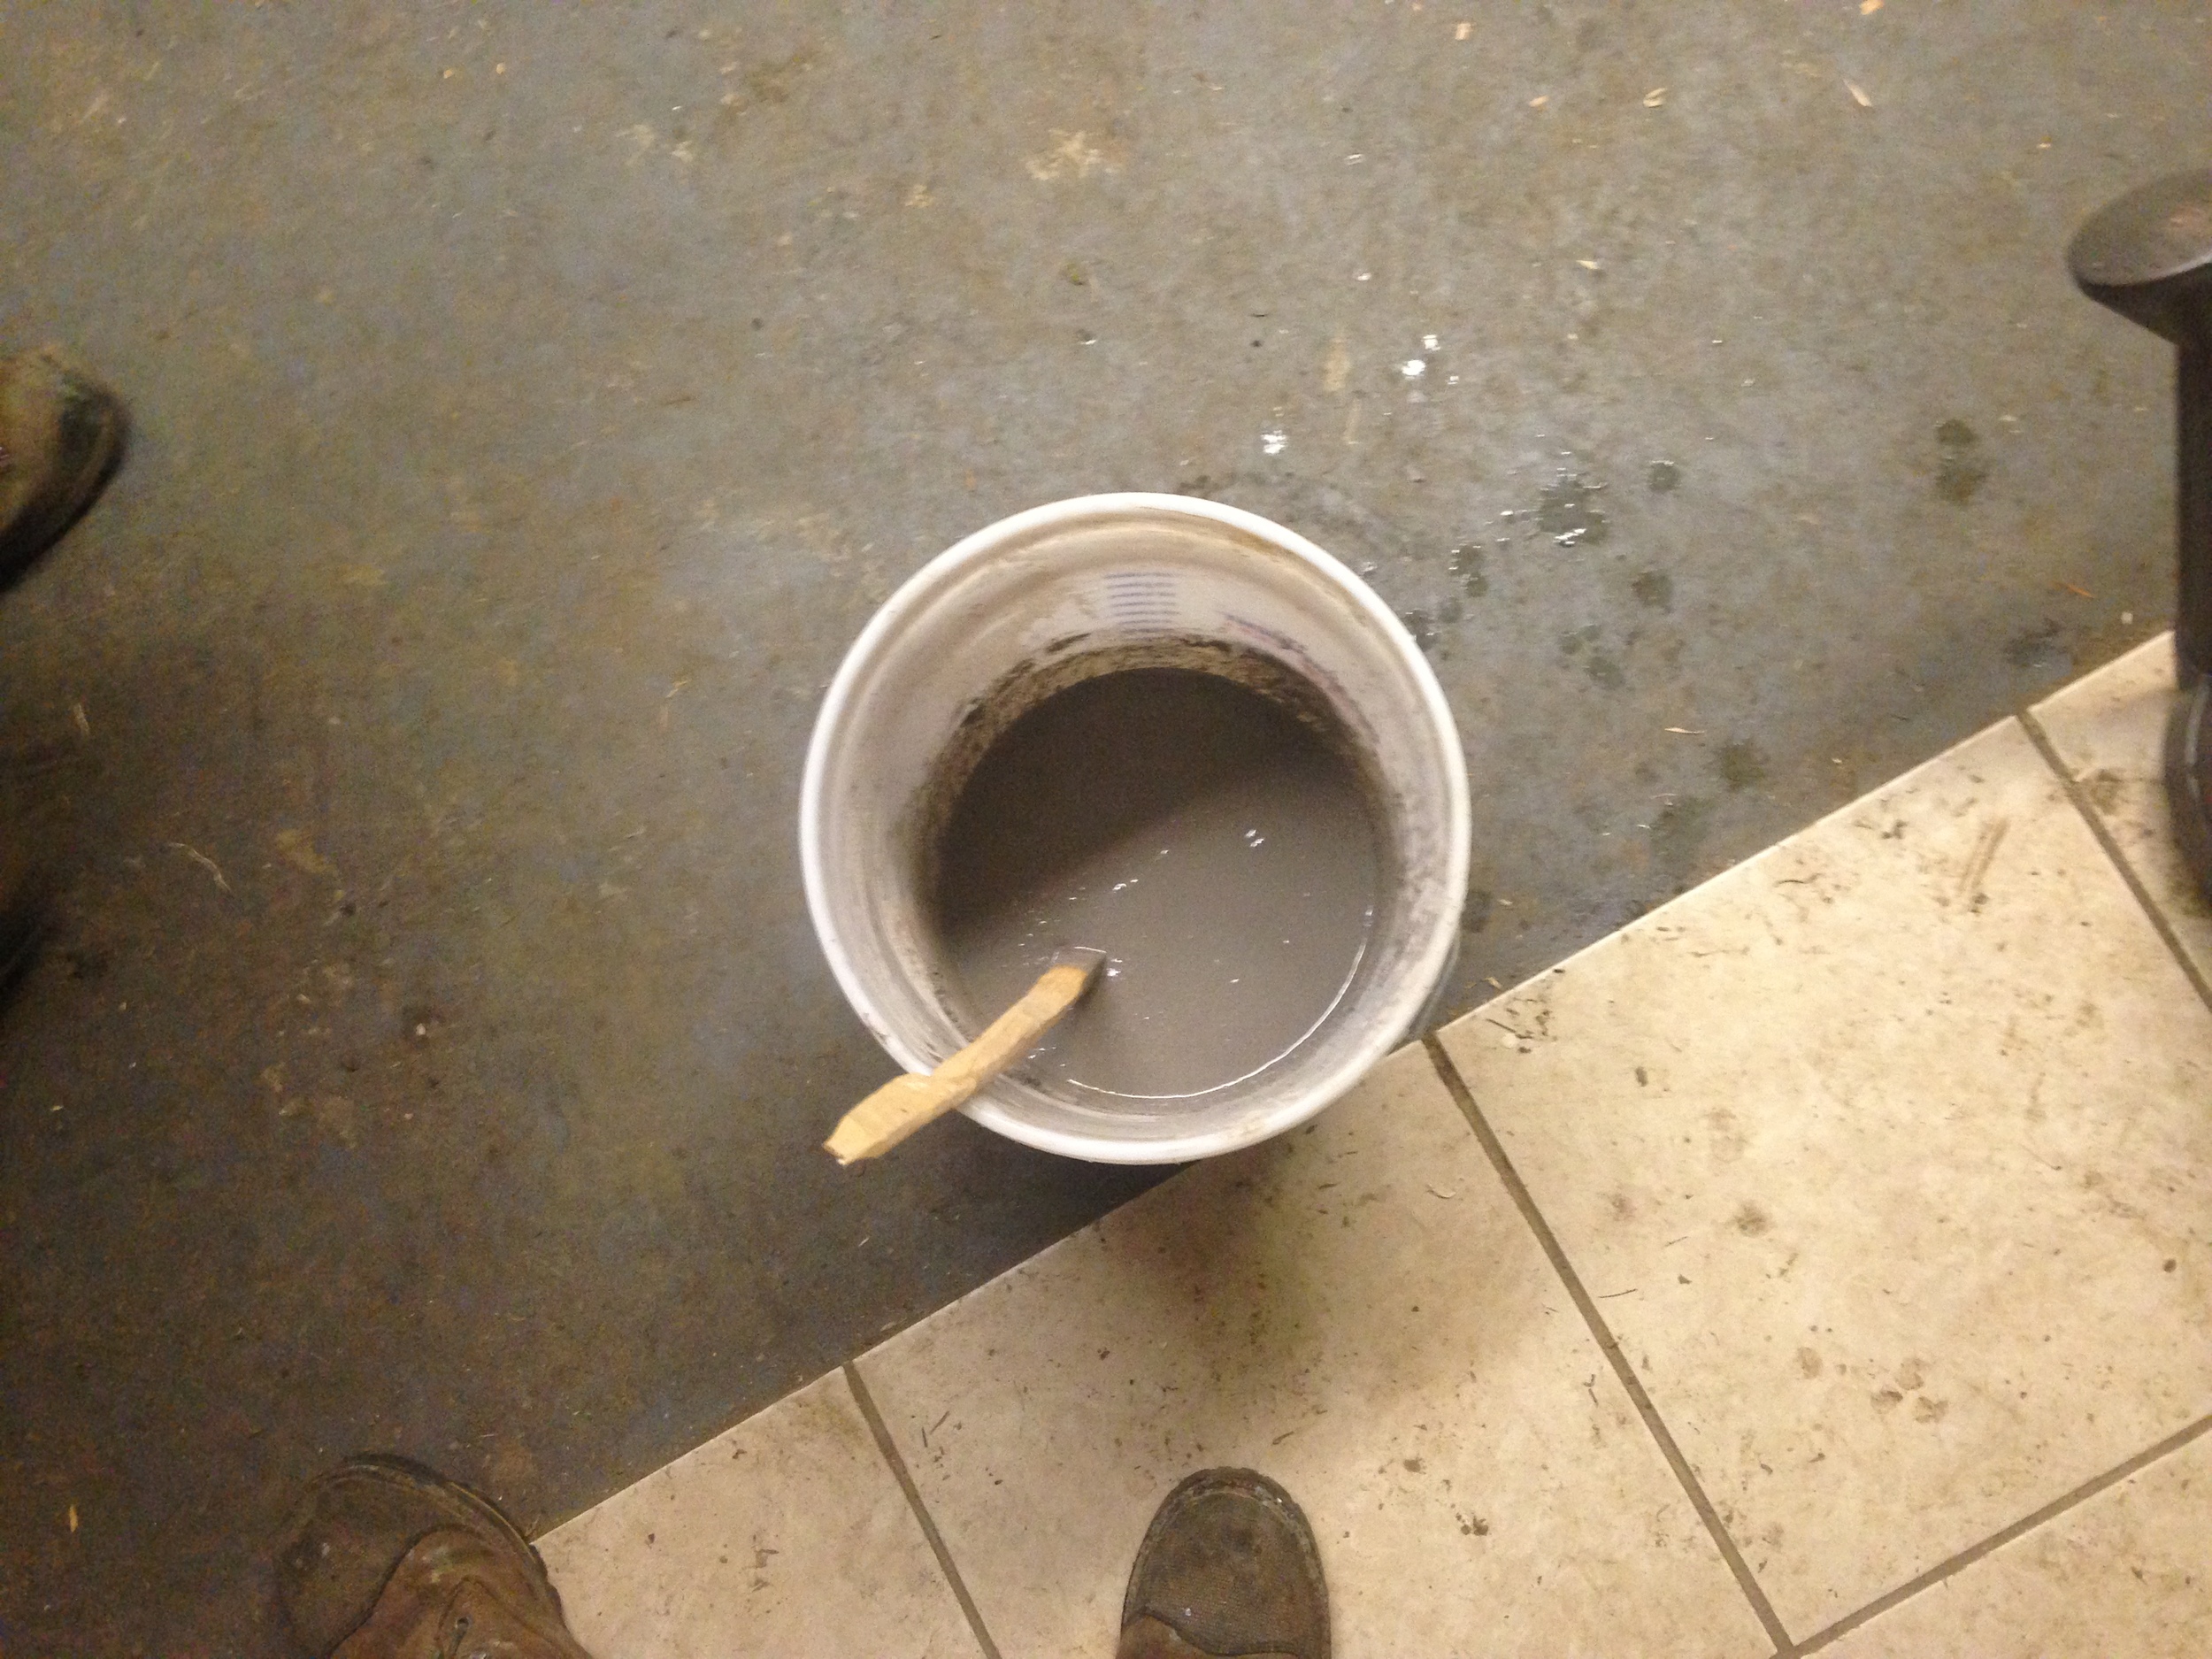
2. Once all of the sifted ash is in the bucket, I put on my gloves and goggles and use a watering can to pour distilled water onto the ash. I do this with another person so that I can be stirring while the water is being poured in slowly. I keep mixing until all of my ash has been absorbed by the water and I have a solution with the consistency of a thin milkshake. The picture on the left below is pouring on the water and the picture to the right is roughly the final consistency.
3. Once the solution is mixed, let it sit from between a few hours to overnight. We let our solution set for about 4 hours for this batch. This allows the sediment time to settle on the bottom of the 5 gallon bucket and the liquid to rise to the top. Then we slowly poured the liquid into a cooking pot and placed the remaining sediment into an old t-shirt. Be sure to have your gloves on for this step. We then squeezed the remaining liquid from the tshirt into the pan and brought the liquid to a boil on the stove. Once the liquid comes to a boil, take it off of the heat and let it sit again so that the sediment can settle. Once it has settled, the remaining solution should look like the picture below and to the right. It's a color very similar to apple juice.


4. Take your apple juice colored solution and pour it into a frying pan with a large surface area. We usually leave a small amount of the solution in the jar so that we don't pour any of the sediment from the bottom of the jar into the pan (the sediment is visible in the photo to the above right).
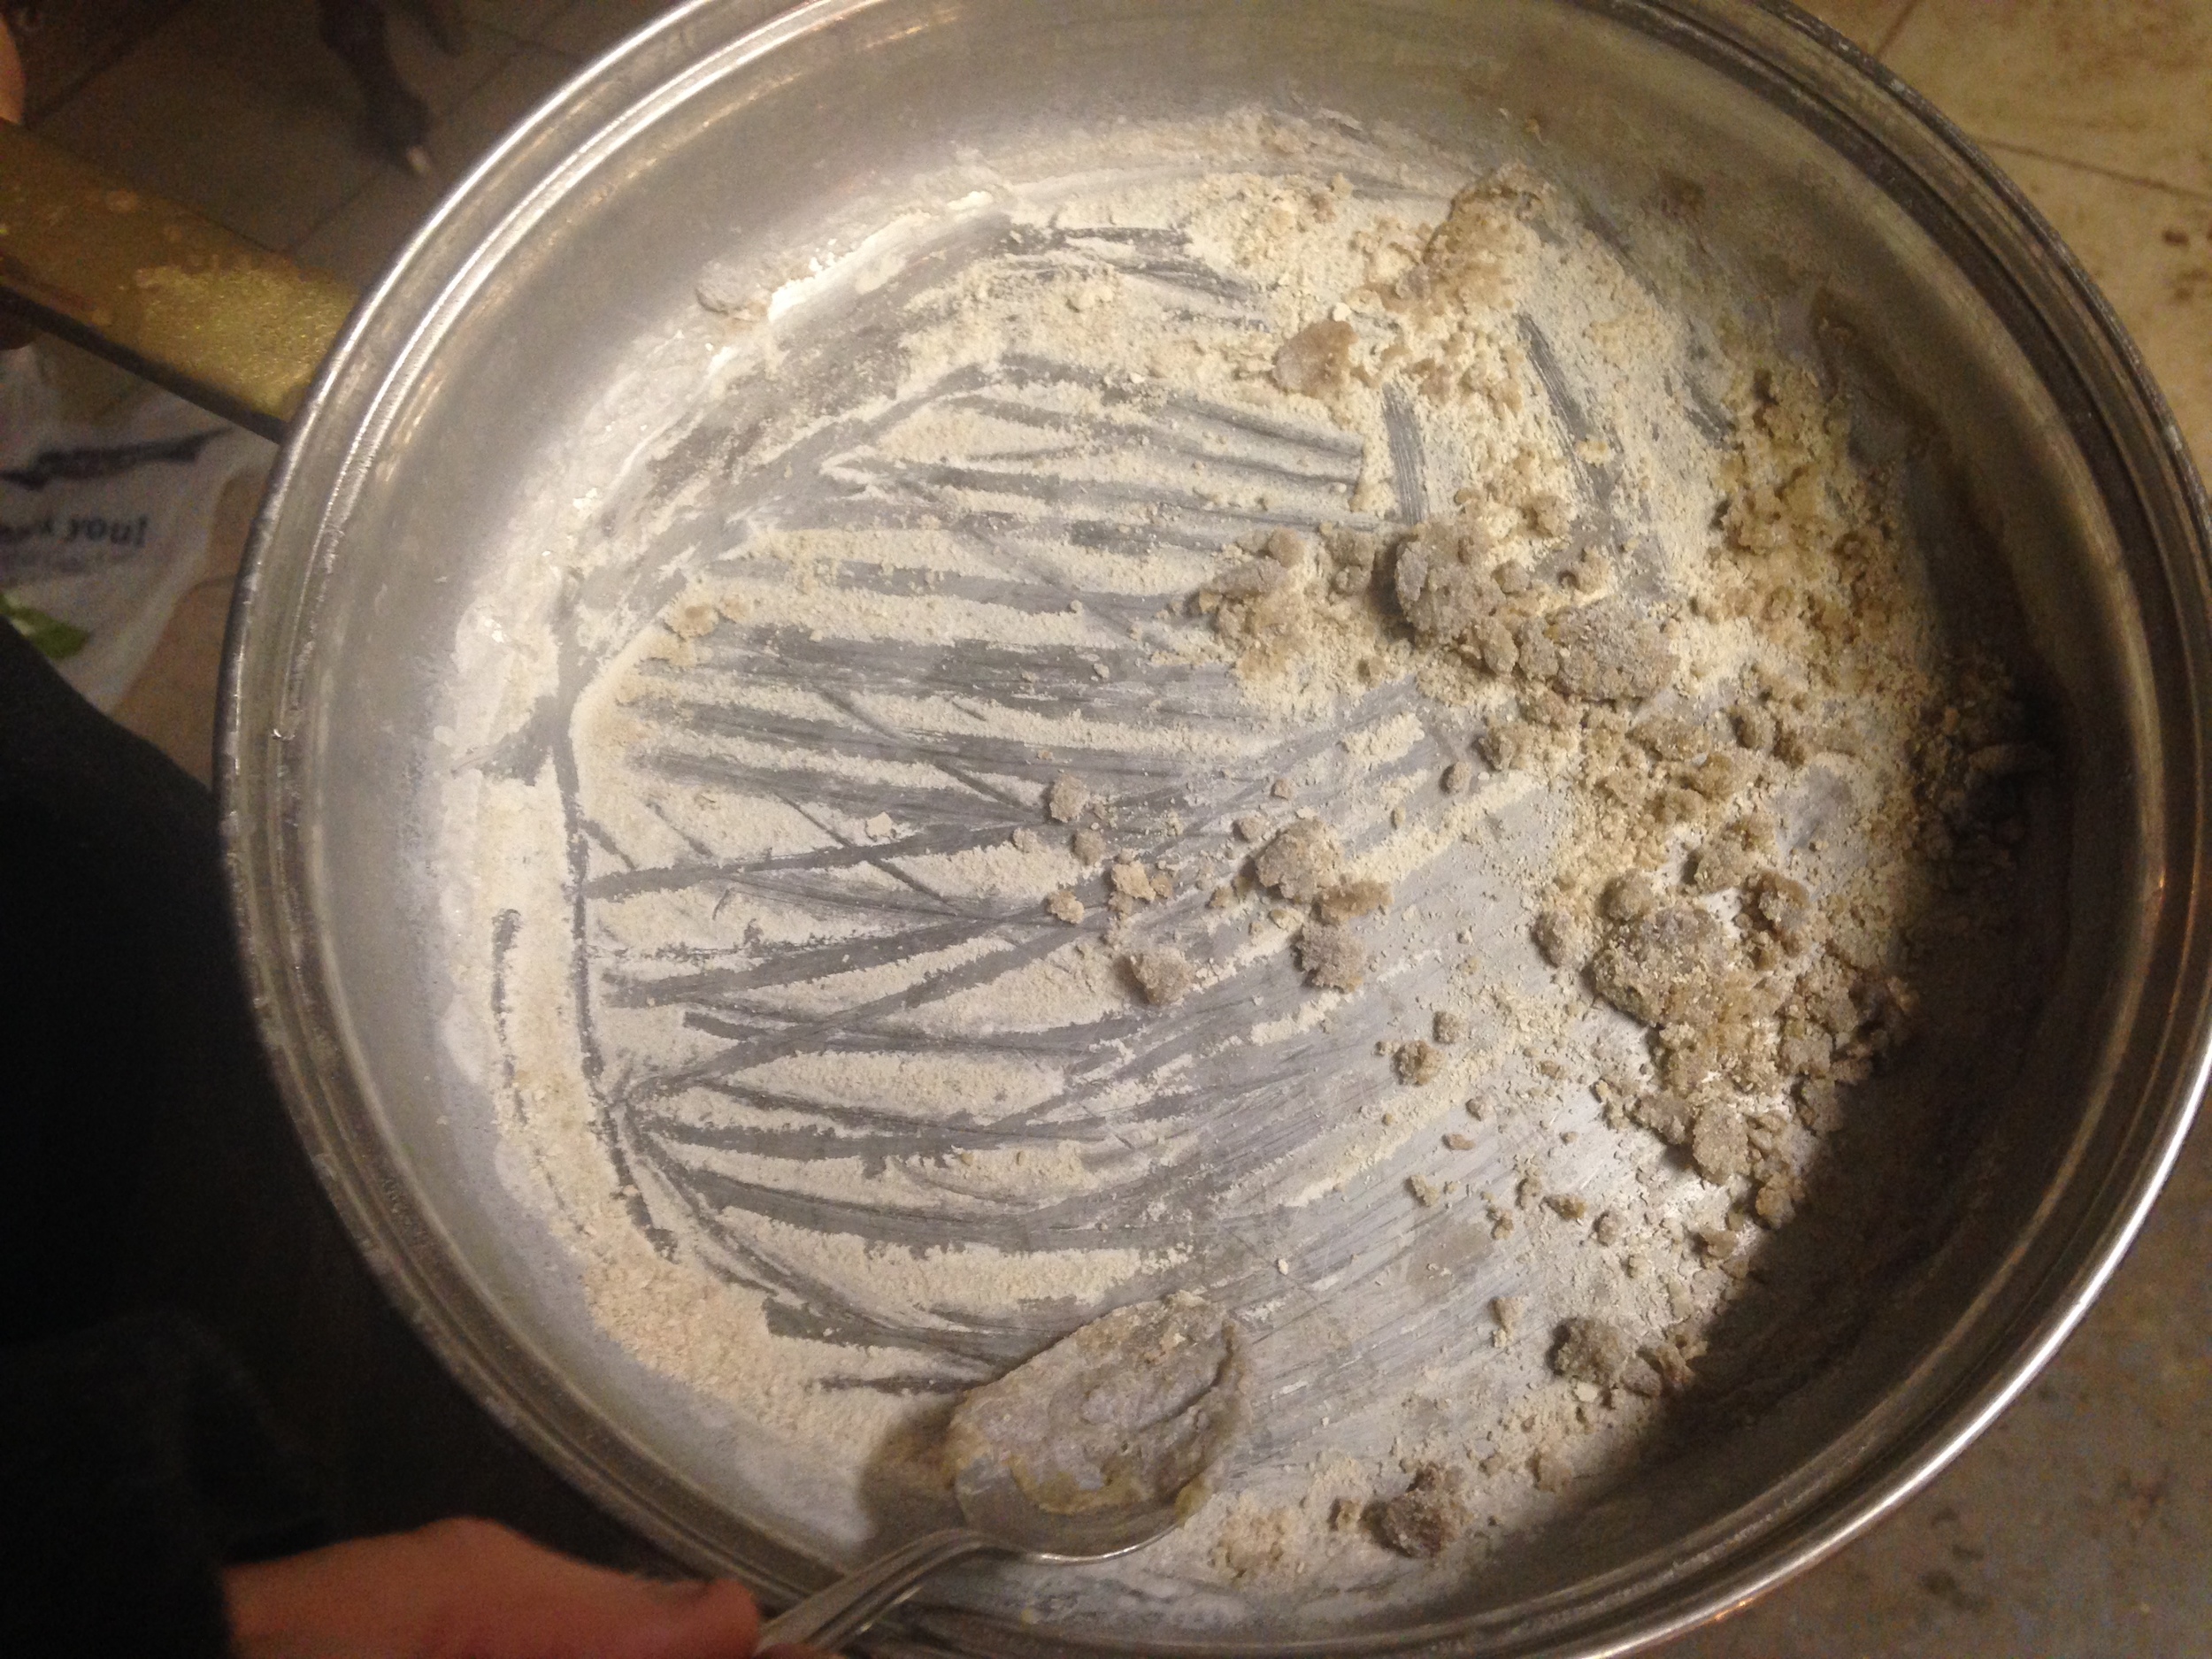
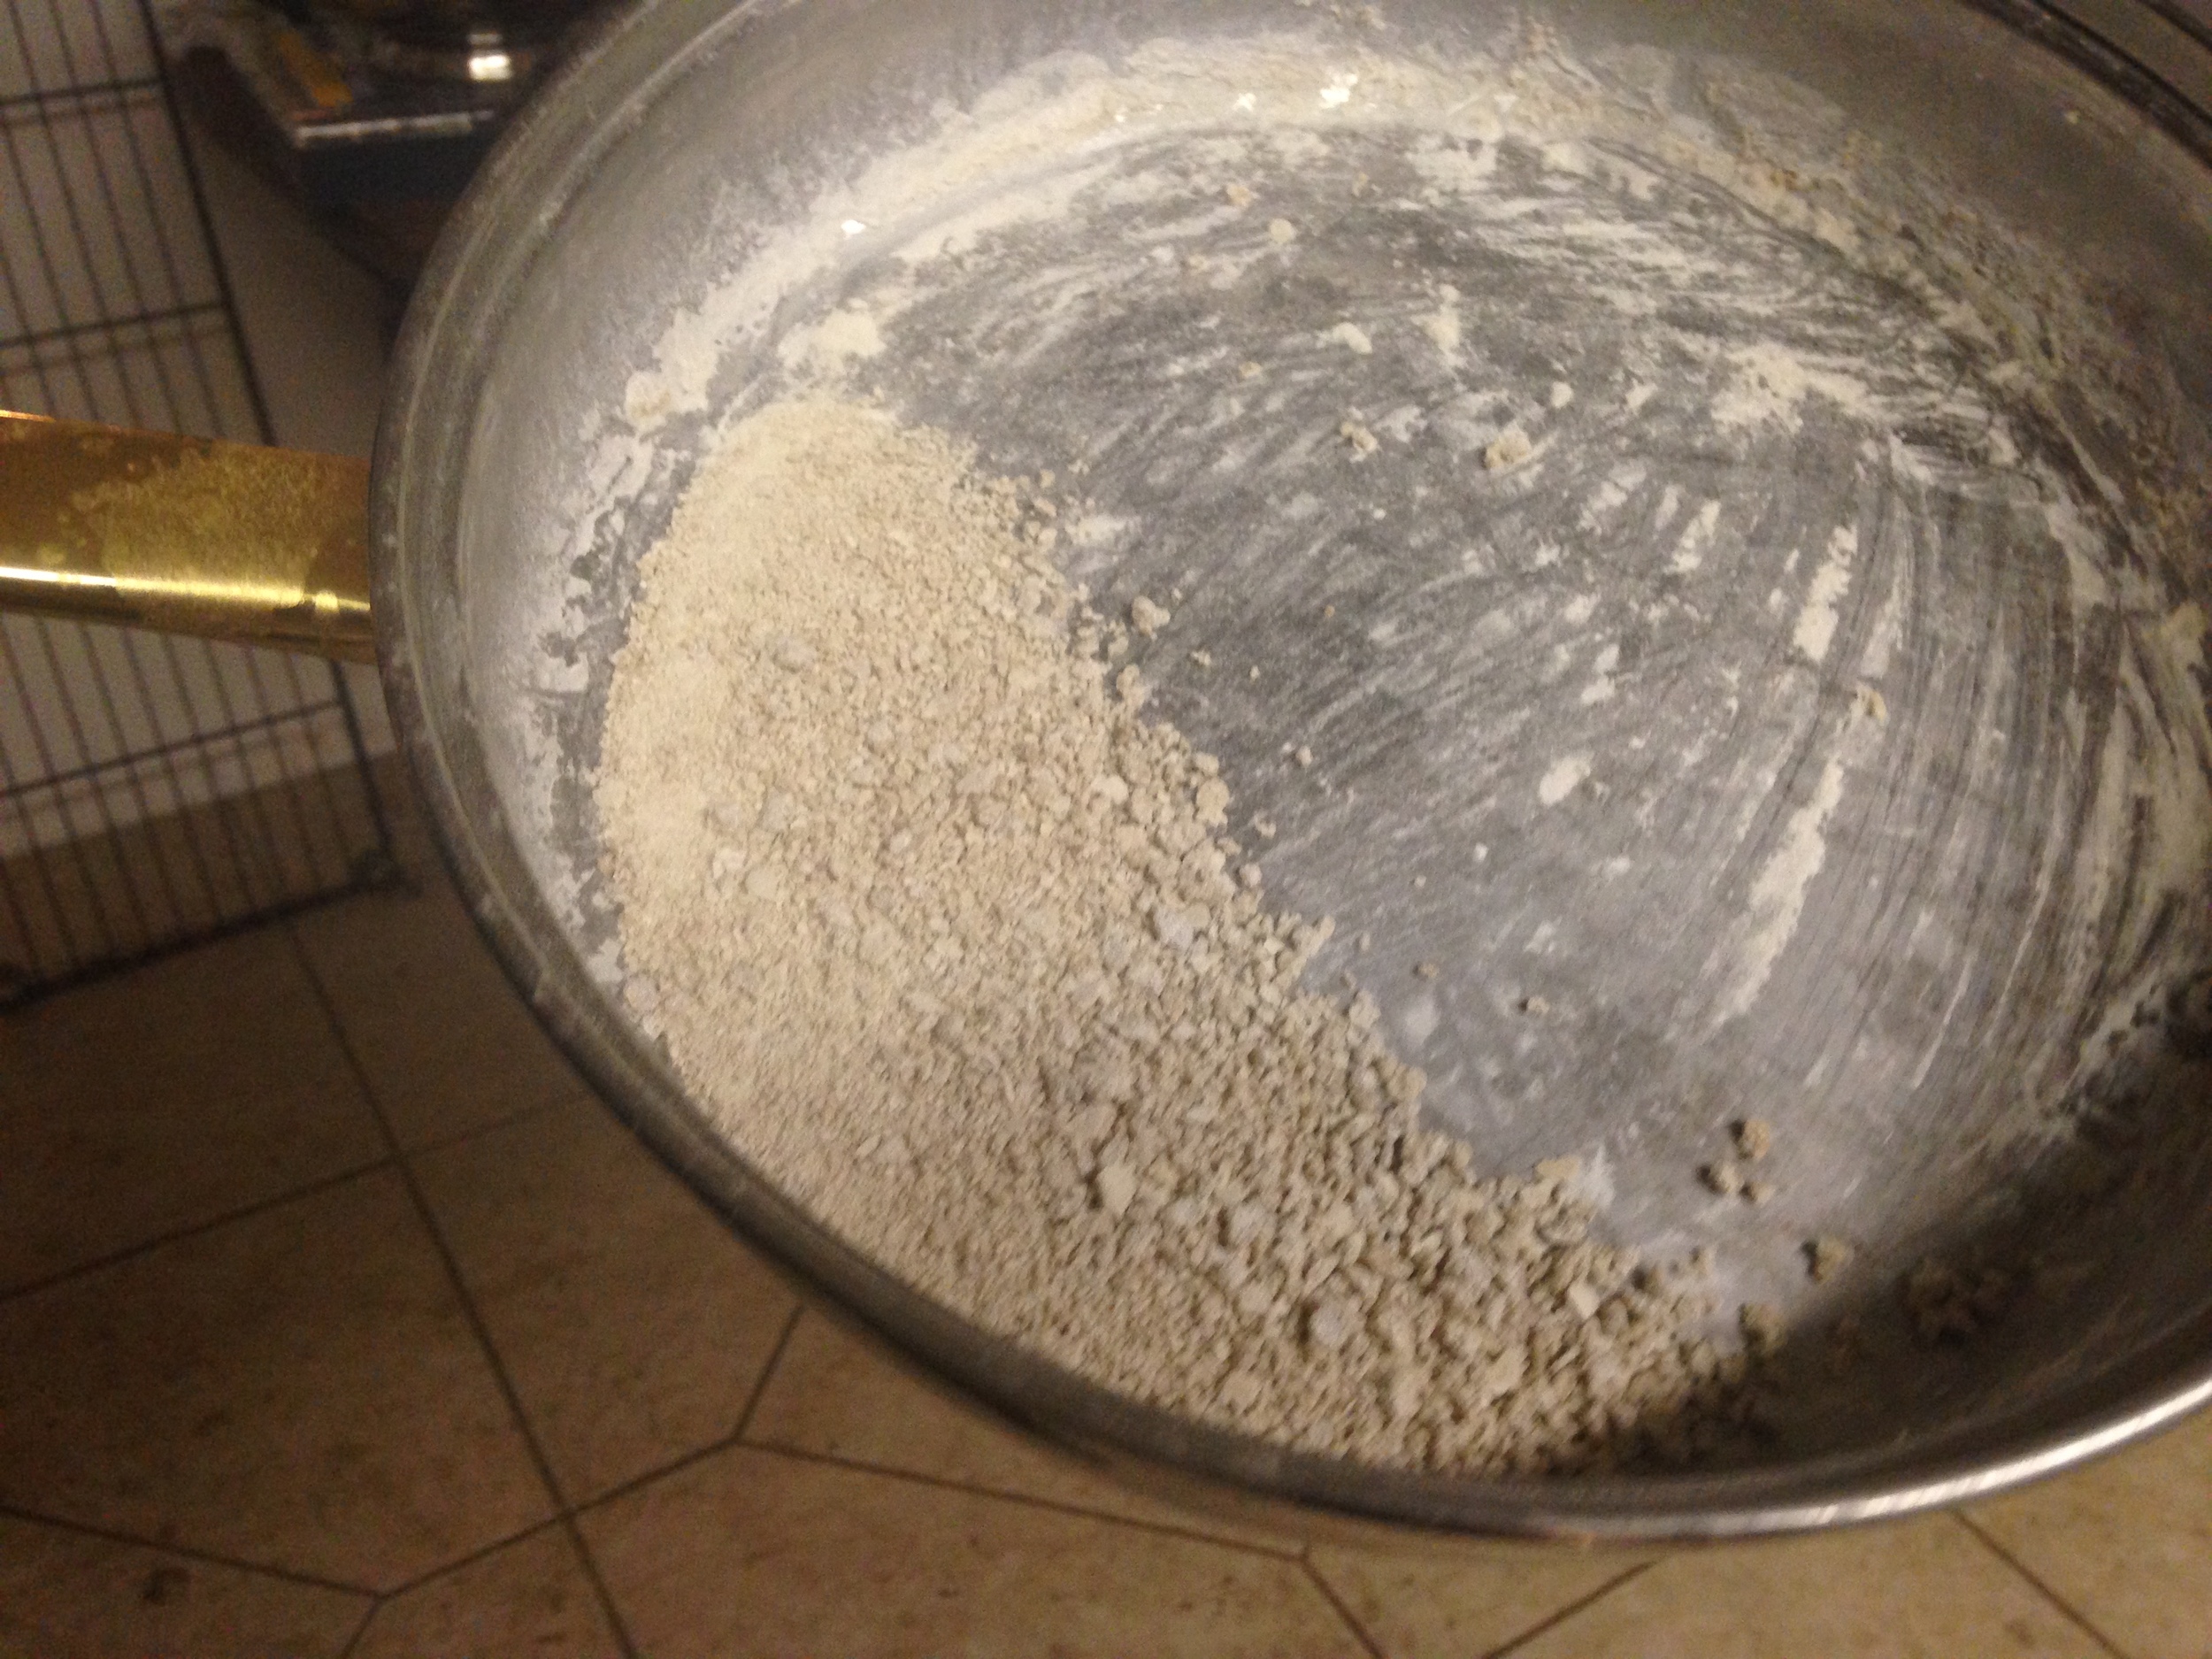
5. Simmer the solution until you see it start to bubble. Once it does, keep it on really low heat and stir with a spoon until it starts to thicken like the picture on the left below. When it's all done, you should have a fine powder like the picture on the bottom right.
That's it! We store the crystalized lye in a mason jar and cap it for the next time that we want to make soap, clean out our drains or our oven. I'll post another blog within the coming weeks on pressing your own oils for soap making and finally with a post outlining the soap making process itself. In the mean time, do something productive with your fireplace ashes instead of just throwing them aside.